Cooper & Hunter Astoria Open-Panel Indoor Unit: Is It Easier to Clean?
“Open-panel access” sounds like it should make a mini-split quick and painless to clean. With the Cooper & Hunter Astoria, opening the front cover can make routine maintenance more convenient—but it does not turn every cleaning job into a simple wipe-down. The cover is only the starting point. Behind it are filters, a blower wheel, an evaporator coil, wiring, and drain components that can need very different levels of attention.
The practical answer: the Astoria’s opening front panel can help with regular filter care and visual checks. It may also make light evaporator coil cleaning more approachable, depending on the exact model and how much working room you have. It does not automatically Take a look at the site here provide unrestricted access to the blower wheel or make a deep cleaning safe for an inexperienced owner.
That distinction matters if you’re deciding whether this unit will be easier to live with than another wall-mounted mini-split. I care less about how impressive the panel looks in a product photo and more about what you can reach without dismantling the unit, soaking your wall, or turning a Saturday into an emergency service call.
What “Open-Panel Access” Actually Means
On a wall-mounted indoor unit, the front cover typically opens or lifts to expose the washable filters and the area in front of the evaporator coil. That makes recurring tasks easier: removing filters, checking for visible dust, and looking for signs of water, debris, or unusual buildup. It is useful access, but it should not be confused with a removable cabinet or a fully exposed coil-and-blower assembly.
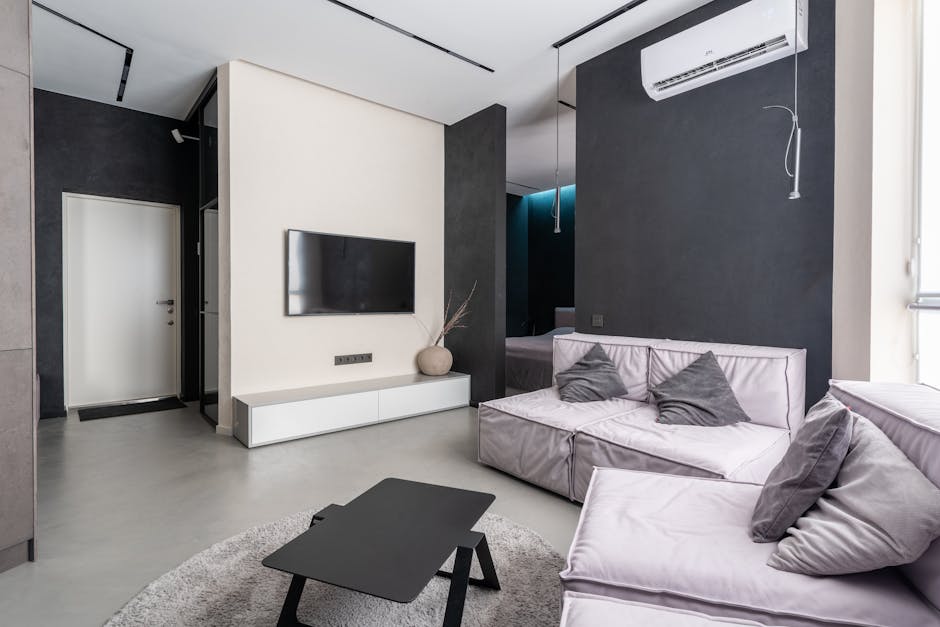
Cooper & Hunter model details can differ by capacity, voltage, production run, and installation. Before relying on a particular cleaning procedure, check the manual for your exact Astoria model number. A product-page photo or a general mini-split video is not a substitute for the unit’s instructions; screw locations, panel stops, and recommended cleaners can vary.
What the panel can help you reach
- Air filters: Usually the most accessible and most frequently cleaned part.
- Visible coil surface: You may be able to inspect the front face of the evaporator coil and remove light surface dust using an appropriate method.
- Signs of trouble: A quick look can reveal a clogged filter, obvious mold-like growth, debris, or water marks worth investigating.
What it may not give you is comfortable, direct access to the full depth of the coil, the blower wheel, or the drain pan. Those are common places for persistent dust, slime, and odor to collect. If the problem is there, “I can open the panel” and “I can clean the problem completely” are not the same claim.
Is the Astoria Easier to Clean Than Other Mini-Splits?
Potentially, for routine maintenance. Most wall-mounted indoor units have a front cover that opens for filter access, so the useful comparison is not simply whether the panel opens. It is how easily it stays open, how much room you have to remove the filters, and whether the manual gives clear care instructions. Those are small design details that matter more after months of use than they do in a showroom.
If you are comparing Cooper & Hunter with MrCool, Pioneer, or another brand, compare the exact indoor-unit manuals and service procedures—not just the brand names. A model-to-model comparison should answer practical questions: Can the filters be removed without awkward bending? Is there enough clearance above the unit? Does the maker explain how to clean the coil without damaging its delicate fins? Is the blower wheel reasonably serviceable, or does deep cleaning require substantial disassembly?
Zone Air may be a useful local resource if you want help assessing service or installation options in your area. Whichever company or installer you contact, ask for the exact model’s maintenance and service guidance rather than assuming all wall heads come apart the same way.
Filter Care Versus Evaporator Coil Cleaning
Filter maintenance: the normal homeowner task
For most households, the best routine maintenance is also the least dramatic: inspect and clean the filters on the schedule in the manual, or more often if the room is dusty, there are pets, or the system runs frequently. Let washable filters dry fully before reinstalling them. A clogged filter can reduce airflow and make the system work harder, while washing a filter that is not meant to be washed can damage it.
Use the panel gently. If it resists, stop and check the manual instead of forcing a hinge or clip. Also leave enough clearance in front of the unit to slide filters out without bending them. That is the kind of day-to-day detail that makes a unit feel maintainable—or annoying.
Evaporator coil cleaning: more caution, more setup
The evaporator coil is the finned heat exchanger behind the filters. Dust on its surface can restrict airflow, and residue can contribute to odors or drainage issues. But the fins are thin and easy to bend. Spraying cleaners carelessly can also push dirt into the unit, wet electrical components, or send runoff down the wall.
For light, accessible dust, follow the manufacturer’s instructions and use a soft, suitable cleaning method. Protect the area below the unit from drips. Avoid aggressive brushes, high-pressure water, household solvents, and any product not approved for the coil. Do not assume that opening the panel makes it safe to spray the whole interior.
A heavily soiled coil, musty odor that returns after filter cleaning, water leakage, or a noisy blower may call for professional service. A technician can determine whether the issue is Helpful site the coil, blower wheel, drain, or something else. A deep clean is not necessarily a sign that the unit is poorly designed; it is simply a different job from rinsing a filter.
What “DIY” Means for Cleaning—and for Installation
There are two different conversations that often get muddled together: DIY maintenance and DIY refrigerant installation. Opening the indoor panel to clean a filter is ordinary owner maintenance. Installing a ductless system involves electrical work, refrigerant piping, condensate drainage, wall penetrations, and equipment-specific commissioning. A product described as “DIY” does not make every part of that work a beginner task.
When installation instructions or advertising promise a straightforward setup, ask the question I always start with: What tool does this really require? A standard pre-charged quick-connect line set can reduce some refrigerant-handling steps, but it does not erase the need to understand routing, fittings, torque, sealing, clearances, drainage, and electrical requirements. Read the exact system instructions before buying tools or drilling a hole.
Pre-charged quick-connect line sets
Quick-connect systems are designed to make certain connections simpler and may be appealing to homeowners who want to avoid field flaring. The line set still has to be routed without kinks or damage, the connections must be made according to the manufacturer’s procedure, and the permitted length and elevation limits must be followed. “Pre-charged” does not mean that any length, routing, or connection method will work.

Custom-cut versus fixed-length line sets
A custom-cut line set can better match the actual distance between the indoor and outdoor units, but conventional copper line sets may require proper cutting, deburring, flaring, and leak checks. That usually means more specialized skill and equipment. A fixed-length quick-connect set can simplify some connections, but the available lengths may not match the route cleanly. Do not treat a large coil of excess copper as harmless: line-set routing and permitted length are governed by the system’s instructions, and tight or careless coils can create installation problems.
Before choosing either option, measure the route carefully, account for bends and entry points, and confirm the minimum and maximum line-set lengths for the exact model. If the supplied length is wrong, the right fix is not automatically to coil the extra line behind the condenser or bury a connection where it cannot be inspected.
115V Plug-In Convenience Versus 230V Hardwire Reality
Some mini-split configurations are marketed with 115V plug-in convenience. That can be a real advantage when the specific system is designed for a compatible receptacle and the electrical instructions allow that connection. But “plug-in” does not mean “no electrical planning.” The outlet, circuit capacity, grounding, cord arrangement, and local code still matter.
Other configurations require 230V power and a hardwired connection, often with a properly sized circuit and an outdoor disconnect. That can mean scheduling an electrician, which is exactly the sort of surprise visit that ruins a weekend if you discover it after the equipment arrives. The indoor head’s panel design has no bearing on whether the outdoor unit is plug-in or hardwired.
Check the nameplate and installation manual for the exact model, then confirm the required circuit and disconnect with a qualified electrician when appropriate. Never assume that a 115V product listing applies to every capacity or variant in a product family.
Quick Comparison: What the Access Does and Does Not Solve
Task or feature What open-panel access may help with What it does not guarantee Filter maintenance Removing filters for regular inspection and cleaning That the filters are washable or that the manual’s schedule can be ignored Evaporator coil cleaning Viewing the front of the coil and addressing light, accessible dust Full access to the coil, blower wheel, or drain pan DIY installation No direct benefit; panel access concerns indoor-unit maintenance That refrigerant connections, line routing, or electrical work are beginner-safe Electrical connection No direct benefit That a system is plug-in, or that a disconnect and suitable circuit are unnecessaryTools and Safety: Don’t Buy Gear Before You Know the Job
For normal filter maintenance, you generally do not need HVAC installation tools. A soft cloth and the cleaning supplies permitted by the manual may be enough. For deeper cleaning, the required setup depends on the access and the condition of the unit; the goal is to protect the wall, wiring, fins, and drain path—not to blast dirt deeper into the machine.
A vacuum pump and manifold gauges are refrigerant-system tools, not tools for cleaning an indoor head. They may be part of conventional split-system installation or service procedures, but they are not a reason to open refrigerant connections as a homeowner. Quick-connect systems have their own prescribed process; follow the exact manufacturer instructions and do not improvise by adding tools or skipping checks.
Before cleaning, turn the system off and follow the manual’s power-isolation instructions. If a task involves exposed wiring, refrigerant piping, or removing major cabinet components, stop and consult a qualified technician. If the unit is under warranty, check whether owner-performed disassembly could affect coverage.
So, Is the Cooper & Hunter Astoria Easier to Clean?
For routine filter maintenance and basic inspection, open-panel access is helpful. It reduces friction around the task you should do most often: checking the filters and keeping airflow unobstructed. For evaporator coil cleaning, it can make light surface care more approachable, but it does not guarantee full access or make a deep cleaning effortless.
When comparing the Astoria with a MrCool, Pioneer, or another wall-mounted system, look beyond the phrase “easy to clean.” Download the exact manuals, check how the filters come out, note the clearance needed above the unit, and find the manufacturer’s coil-cleaning instructions. Also confirm your line-set plan and electrical requirements before buying. The easiest indoor panel in the world will not compensate for a mismatched line set or a last-minute electrician visit.
The practical takeaway: treat the Astoria’s panel as a useful maintenance feature, not a promise of tool-free access to every component. Clean filters regularly, keep coil care gentle, and call for help when the job moves beyond visible dust and basic owner maintenance. That is the version of “DIY” that tends to work well in real homes—and that is much less likely to ruin a weekend.